
Free template
Flooring Estimate Template
A customer-ready flooring estimate grouped the way flooring contractors price the job: removal and prep, installation, then trim and transitions. The Excel version includes a floor takeoff sheet that turns room dimensions into measured square feet, boxes with waste, underlayment, thinset, grout, trim and self-leveler bags.
Free · No email required · Free to use and share for your own business
Updated September 28, 2026 · Built by the BuildWorkPro team, checked on real subcontractor jobs.

What's in the template
How to fill it out
-
1
Measure the rooms
On the Floor Takeoff sheet, enter one row per room and closet: length, width, the floor coming out, the new floor (A or B), and the feet of doors and open sides that get no trim. Enter the carton, roll and bag coverage for your products. Tear-out, boxes, rolls, bags and trim calculate.
-
2
Build your unit prices
On the Unit Price Builder, enter material cost, labor hours and other cost per unit for each item, along with your loaded labor rate, overhead and profit margin. Each item’s selling price per box, square foot or linear foot computes. Use your own crews’ production rates, not a rule of thumb.
-
3
Fill in the customer and job specs
Enter the customer, the job address and the specs the customer will compare between contractors: measured area, flooring, rooms, subfloor and removal. Write the scope in two or three plain sentences.
-
4
Price each phase, then set tax and deposit
Enter the line items under removal and prep, installation, and trim with quantity, unit and unit price. Put material on the boxes you order and labor on the measured area, and carry the leveling allowance as its own line. Mark taxable lines and enter your rate, or leave tax at 0% if it is in your prices, and set the deposit percentage.
-
5
Add options and terms, then get it signed
List optional upgrades outside the total, write the payment terms, exclusions and warranty, and add a valid-until date. Review it with the customer and collect the signature and deposit before you order material.
What goes on a flooring estimate
A flooring estimate has to hold up twice: once next to the other bids on the customer’s kitchen table, and again when the old floor comes up. The job-specs strip under the header handles the first. Measured area, the product, the rooms, the subfloor and what is being removed are what a homeowner compares. The phases handle the second.
- Removal and prep: tearing out each existing floor, disposal, and a leveling allowance for the slab or subfloor you cannot see yet.
- Installation: flooring material by the box, underlayment, setting materials for tile, and labor by the measured square foot.
- Trim, transitions and other: quarter round or baseboard, transitions at doorways, and the toilet or appliances that have to come out and go back.
Anything the customer might add, such as new baseboard or a second bathroom, goes in the optional-items table, priced but outside the total, so they can say yes without a rewrite.
How to measure a floor and order material
Measure room by room, closets included, wall to wall. Measure kitchens to the cabinet faces unless the floor runs under the cabinets. That measured area is what the customer is buying and what you price labor on. Material is different, because it comes in full boxes and every room produces offcuts. Boxes = measured square feet × (1 + waste) ÷ square feet per box, rounded up. Here is how the waste percentage changes the order for the completed example’s 1,129 square feet of plank at 23.64 square feet per box:
| Waste | Where it is a common starting point | Boxes |
|---|---|---|
| 5% | Large rectangular rooms, straight lay | 51 |
| 10% | Straight lay through normal rooms and closets | 53 |
| 15% | Diagonal lay, many small rooms, large-format tile | 55 |
| 20% | Herringbone or chevron | 58 |
The Floor Takeoff sheet does this for two products at once, Floor A and Floor B. It also sums tear-out by the floor coming out, because carpet and glued tile are priced very differently. Trim is each room’s perimeter minus doors and open sides. Underlayment is area ÷ roll coverage. Thinset and grout come from the coverage printed on the bag for your trowel and joint size. Self-leveler is area × average depth ÷ 12 ÷ the bag’s yield in cubic feet. Every coverage figure is an editable input, because it varies by product. Check the carton and the bag.
Pricing a flooring job line by line
Price removal by what is coming out: carpet and pad come up fast, while ceramic tile and its thinset take several times the labor and make far more debris. Put material on its own line at the boxes you order, and labor on the measured area, so the customer can compare products and installers separately. Build every unit price from cost on the Unit Price Builder: material, plus labor hours at your fully loaded rate, plus consumables and disposal, then overhead, then profit as a margin on price rather than a markup.
The completed example is a single-story home on a slab. Carpet and ceramic tile come out, 1,129 square feet of 20-mil rigid-core LVP goes into the living areas and bedrooms, and 60 square feet of porcelain tile goes into the primary bath. Removal and prep come to $2,374.75, installation to $8,844.10, and trim, transitions and the toilet reset to $1,322.50. That is $12,541.35 in total, or about $10.55 per measured square foot all-in. The plank is 53 boxes at $82.50 and its labor 1,129 square feet at $2.40. There is no tax line because the contractor pays tax on materials and includes it in the prices. The 40% deposit is $5,016.54, due on acceptance to order material.
The leveling allowance, and what shows up after tear-out
Nobody knows how flat the slab or subfloor is until the old floor is up, and rigid-core plank and large-format tile both need a flat floor. The manufacturer’s installation instructions set the tolerance. Many also require a moisture test on concrete, so check them before you price. Write the uncertainty into the estimate: a fixed number of bags of self-leveler in the price, a per-bag price beyond that, and photos. Anything bigger, such as a cracked slab or a soft subfloor, gets written up as a change order and signed before the work. When the floor is done, bill the balance on an invoice that references the estimate number and lists any approved changes.
Estimate, quote or proposal?
For a homeowner, this estimate is usually the whole sale: a price, the terms and a signature. When you bid a GC on a tenant improvement or an apartment turn, priced from drawings and a finish schedule, build your cost on the construction estimate worksheet. Then send a construction quote or a bid proposal with inclusions, exclusions and alternates instead.
Common mistakes on flooring estimates
- Charging labor on ordered square feet. The customer pays labor on the floor they have, not on the waste.
- One removal price for every floor. Glued tile is not carpet.
- No leveling allowance. Without one, every low spot becomes a negotiation mid-job.
- Forgetting trim, transitions and the toilet. They are small lines that add up, and they are where a cheaper bid is usually thin.
- Ordering the job in two batches. A later production run may not match, so order it all at once and leave the extra boxes with the owner for repairs.
- No valid-until date. Material prices move, and an open-ended estimate can be held to old ones.
Price floors from a catalog, not a blank spreadsheet
In BuildWorkPro every estimate is a bid built from line items priced from your product catalog, with margin and overhead applied as rates. It goes out as a branded PDF for e-signature and converts into a project when the customer accepts. Construction bidding software for $79/month flat, with a 14-day free trial.
See estimating in BuildWorkProFrequently asked questions
How do you measure square footage for a flooring estimate?
Measure each room and closet wall to wall, multiply length × width, and add them up. Break L-shaped rooms into rectangles, and measure kitchens to the cabinet faces unless the new floor runs under the cabinets. The Floor Takeoff sheet takes one row per room and totals the area separately for each flooring type. That measured number is what you price installation labor on.
How much waste should I add for vinyl plank or tile?
Around 10% is a common starting point for straight-lay plank, and 15% or more for diagonal layouts, herringbone, small rooms full of cuts, and large-format tile. Waste goes into the boxes you order, not into the square feet you charge labor on. Your own leftovers are a better guide than any rule of thumb, so track them job by job.
How many boxes of flooring do I need?
Boxes = measured square feet × (1 + waste) ÷ square feet per box, rounded up to a whole box. The completed example has 1,129 square feet of LVP at 10% waste and 23.64 square feet per box: 1,241.9 ÷ 23.64 = 52.5, so 53 boxes. Take the coverage from the carton, because it varies by product.
What should a flooring estimate include?
The measured area, the flooring product, the rooms, the subfloor and what is being removed; line items for tear-out and disposal, floor prep, material, underlayment, installation labor, trim, transitions and fixtures such as toilets; a leveling allowance with a per-unit price; optional items priced separately; the deposit and payment terms; exclusions such as moving furniture or painting; the warranty; a valid-until date; and a signature line for acceptance.
How do I price flooring installation per square foot?
Build it from your own production and costs rather than a going rate. Take the hours a crew spent per square foot on recent jobs, multiply by your loaded labor rate, add consumables, then apply overhead and profit as a margin on price. In the completed example LVP labor is $2.40 per square foot and tile labor $12.50, because setting tile in a small bath is far slower per foot than floating plank.
Should I charge extra for floor leveling?
Yes, and say how in writing before tear-out. Rigid-core plank and large-format tile both need a flat floor, and the manufacturer’s installation instructions set the tolerance. Carry an allowance, such as the six bags of self-leveler at $95 a bag in the completed example, bill anything beyond it per bag with photos, and write up bigger problems like a cracked slab as a change order.
Do you charge sales tax on a flooring estimate?
It depends on your state and how you contract. In many states an installing contractor pays sales tax when buying material and builds it into the price, so no tax line appears. In others, material sold separately from installation is taxed to the customer. The template supports both: mark taxable lines and enter a rate, or leave the rate at 0% and note that tax is included. Confirm the rule for your state.
Templates that go with this one
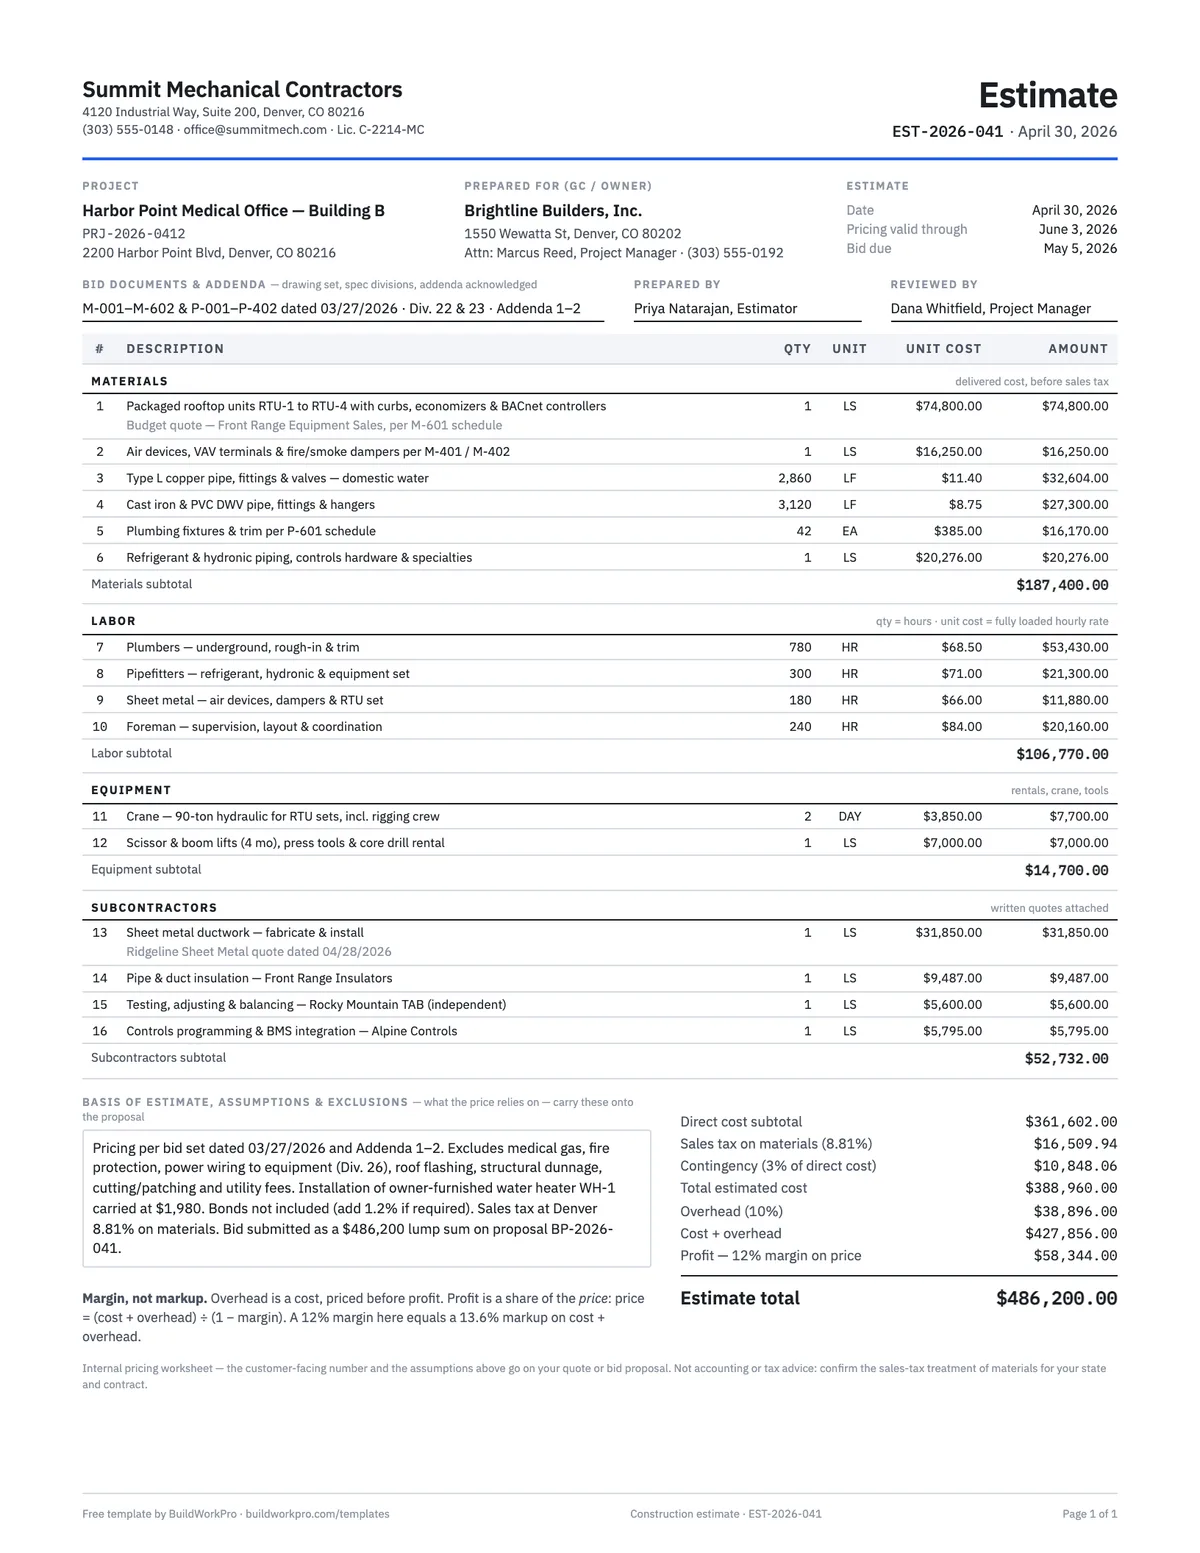
Construction Estimate Template
Material, labor, equipment and subs by section, with overhead and true-margin pricing.
Excel · PDF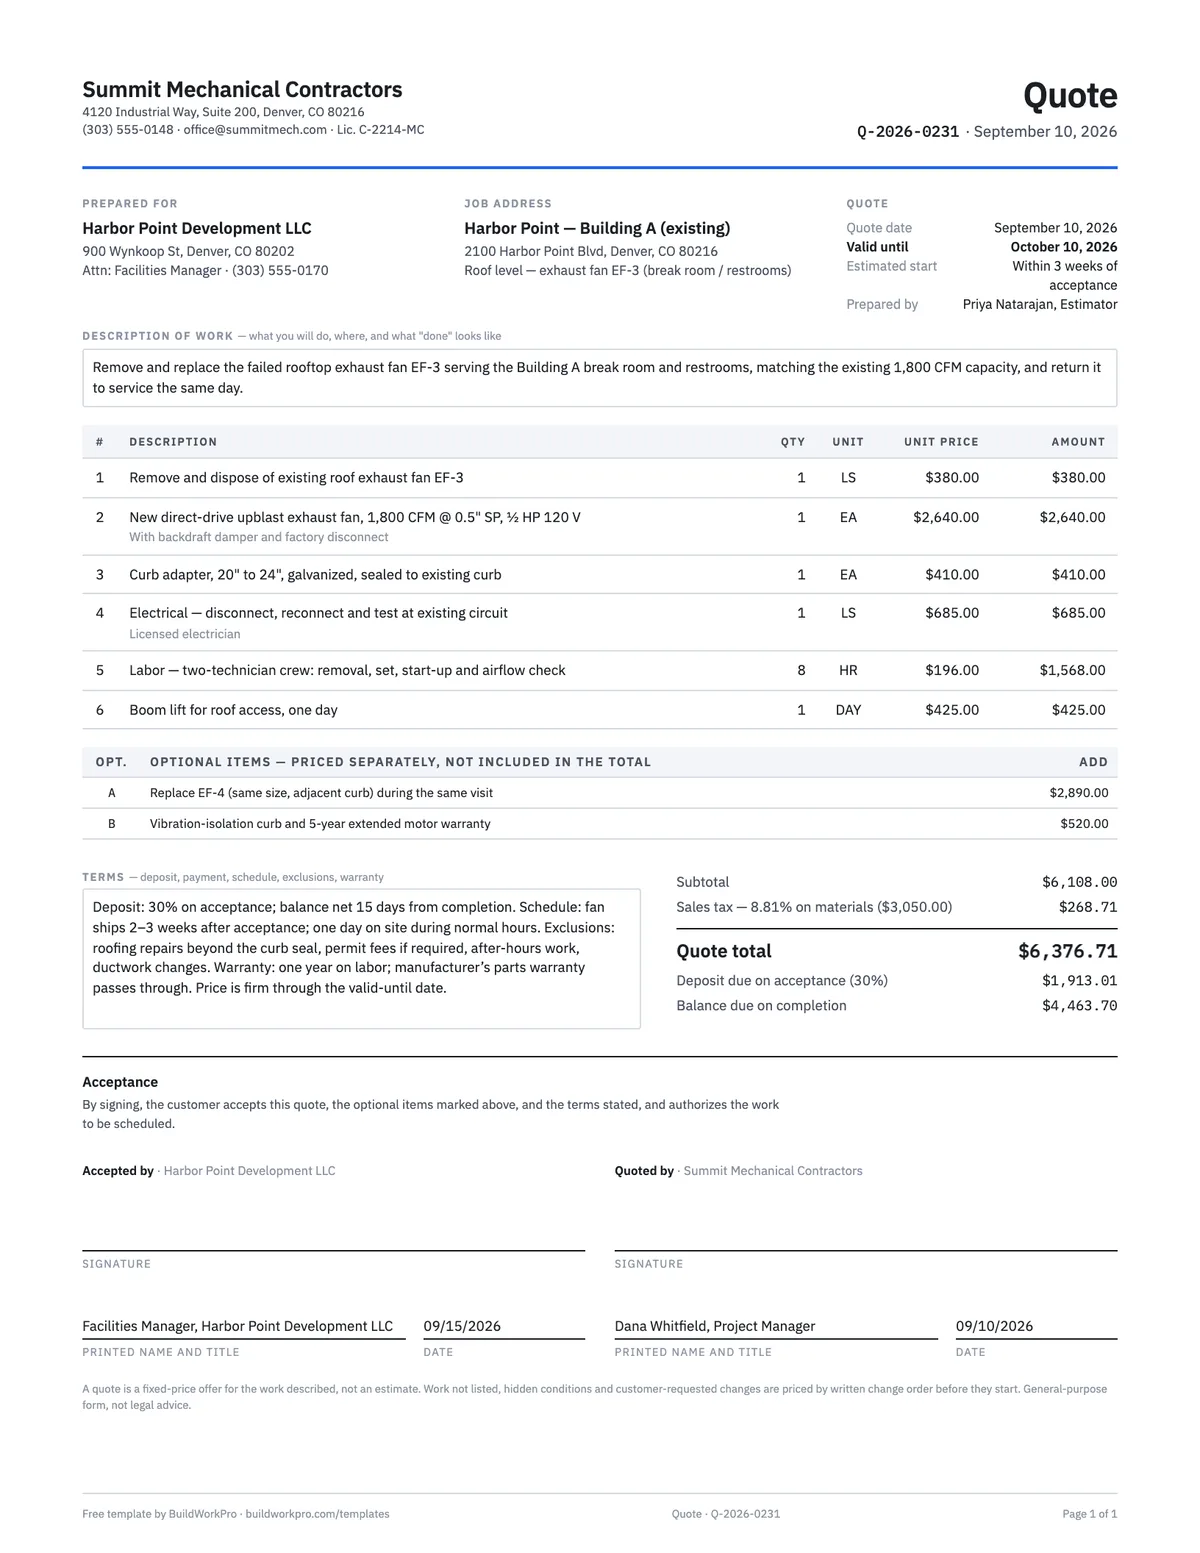
Construction Quote Template
One-page fixed-price quote with line items, options, validity date and acceptance signature.
Excel · Word · PDF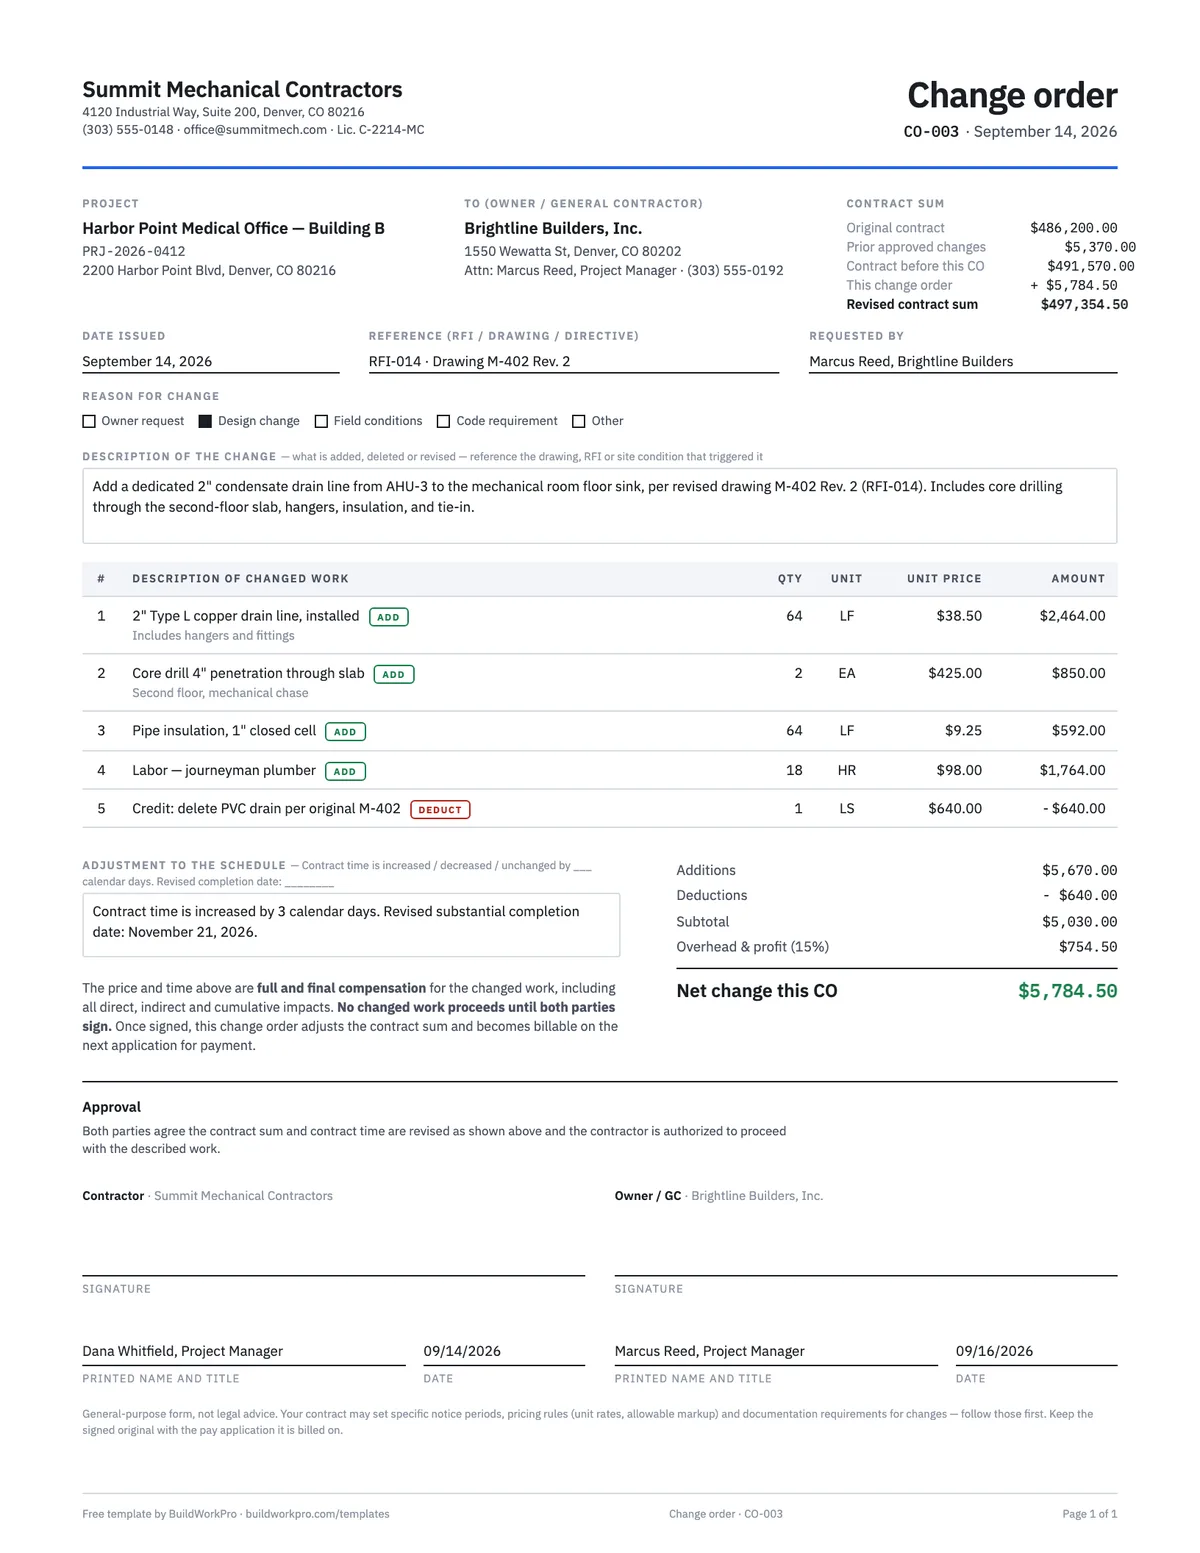
Construction Change Order Template
Price the change, adjust the contract sum and schedule, and get both signatures before the work starts.
PDF · Word · Excel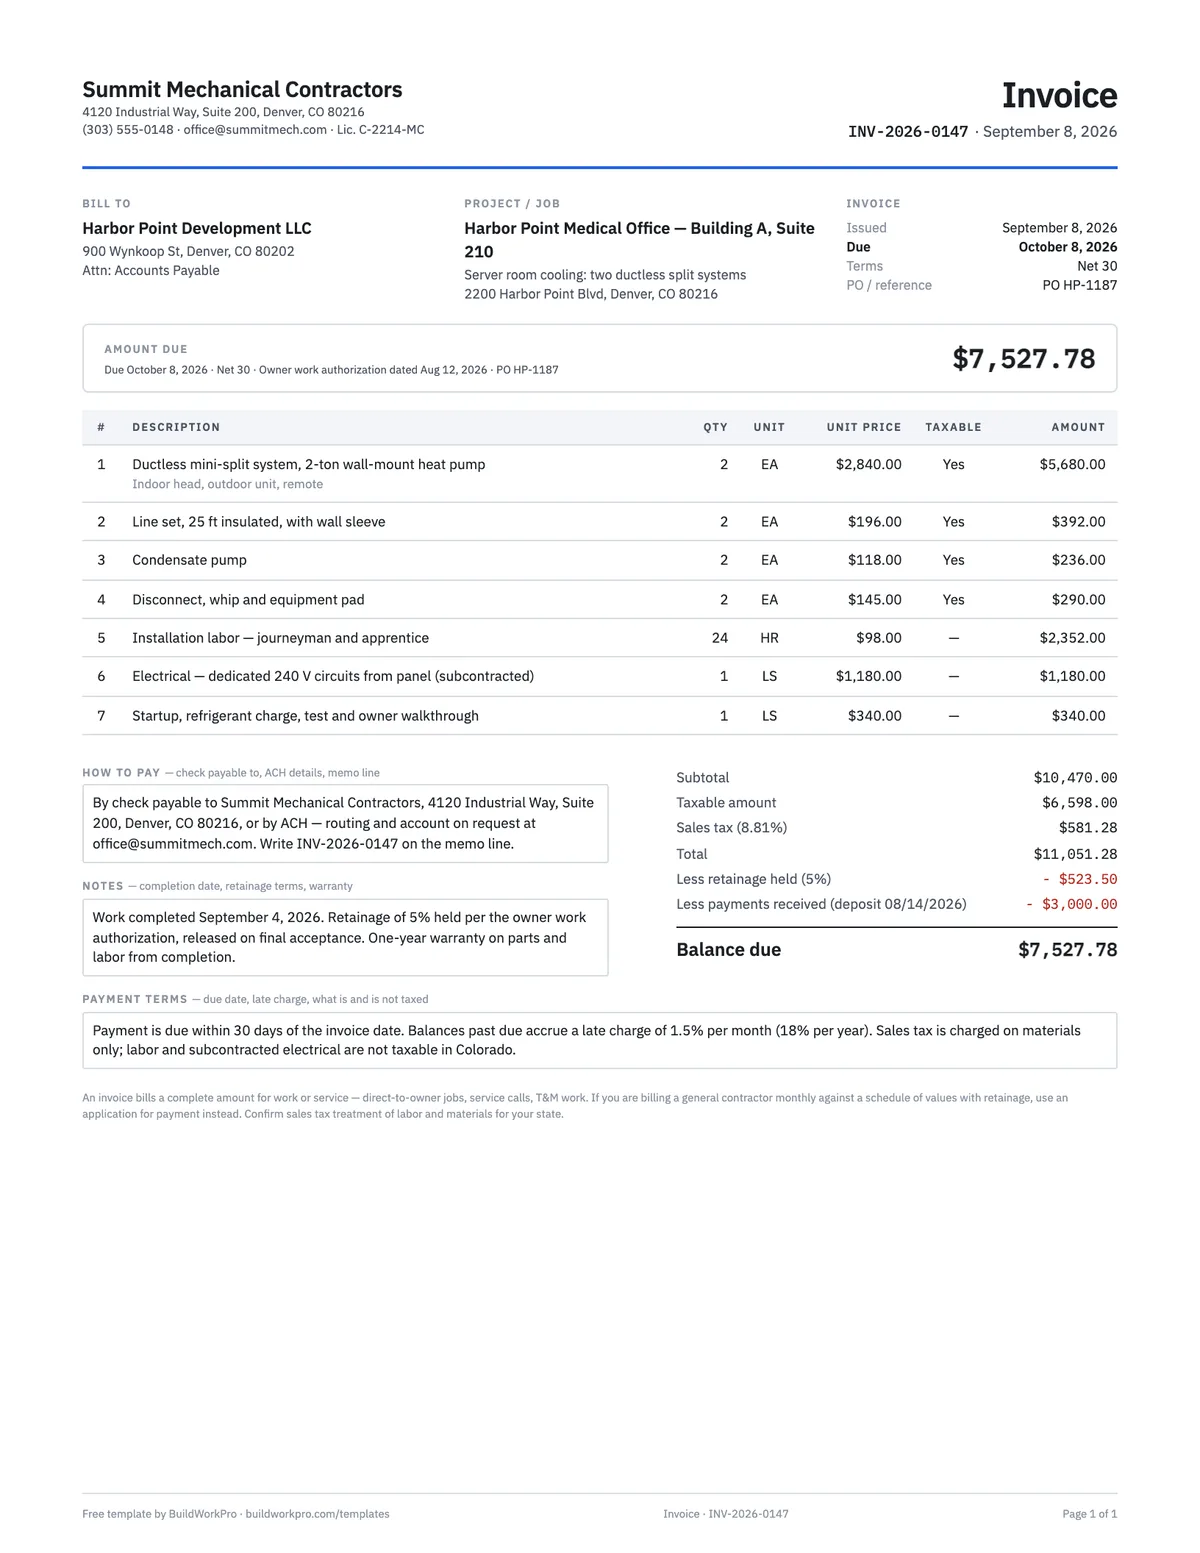
Contractor Invoice Template
Line items with computed amounts, sales tax, retainage and balance due — for work billed directly, not through a GC.
Excel · Word · PDFEstimate templates for other trades: Roofing · Landscaping · Painting · HVAC · Electrical · Plumbing · Fence · Concrete · Drywall
Free calculators and price data for this work: Labor Burden Calculator · Markup vs Margin Calculator
Stop retyping the same floor
BuildWorkPro keeps your plank, tile, underlayment and trim prices in a catalog, applies your margin to every line, sends the estimate for e-signature and turns the accepted job into a project. Change orders, invoices and photos stay on the same job.
$79/month flat · 14-day free trial · No credit card required
General-purpose estimate form, not legal advice. Home-improvement contract rules such as deposit limits, cancellation notices and license disclosures vary by state. Confirm the requirements where you work, and follow the flooring manufacturer’s installation instructions for subfloor flatness, moisture testing and underlayment.