
Sending a Bid
When your bid is ready, send it to the client as a PDF, track their response, and turn a won bid into a project.
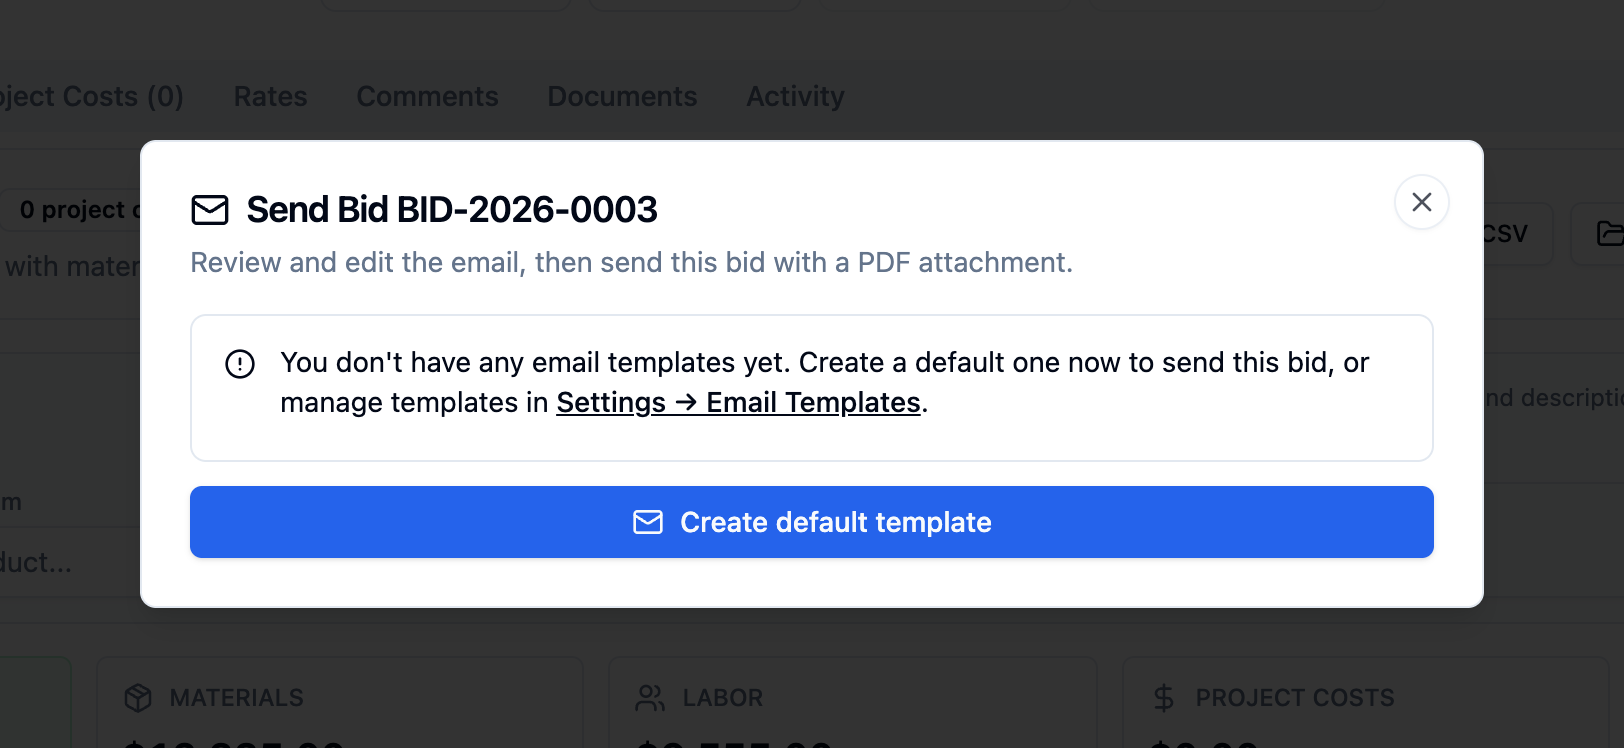
Sending a bid: the Send Bid dialog composes the email from a saved template with the bid PDF attached; an accepted bid then converts into a project, mapping line items to phases or tasks.
Send the bid
Section titled “Send the bid”-
Review the bid. Open the bid and check the line items, rates, and terms.
-
Open the send dialog. Click Send Bid.
-
Compose the email. Choose an Email Template if you have one, set the To recipient (use Add Cc or Add Bcc as needed), and edit the Subject and Message. The bid PDF attaches automatically.
-
Send. Click Preview to check the email, then click Send Bid.
The bid moves to Sent status.
Track bid status
Section titled “Track bid status”A bid has five statuses:
- Draft – still being prepared.
- Sent – delivered to the client.
- Accepted – the client agreed.
- Rejected – the client declined.
- Expired – past the Valid Until date with no decision.
When a client responds, click Accept Bid (enter who accepted it) or Reject. You can see every bid’s status at a glance on the Bids list.
Convert a won bid to a project
Section titled “Convert a won bid to a project”Once a bid is Accepted, turn it into a project.
-
Start the conversion. Open the accepted bid and click Convert to Project.
-
Choose a strategy. Pick a Conversion Strategy:
- Map to Phases – each line item becomes a project phase.
- Map to Tasks – each line item becomes a task.
- Use Template – apply a project template and map line items to its phases.
-
Convert. Click Convert to Project.
The new project links back to the original bid, and its line items can seed the schedule of values for pay applications.