
Team and Roles
BuildWorkPro uses role-based access control so each teammate sees and does only what their job requires. Every user has exactly one role.
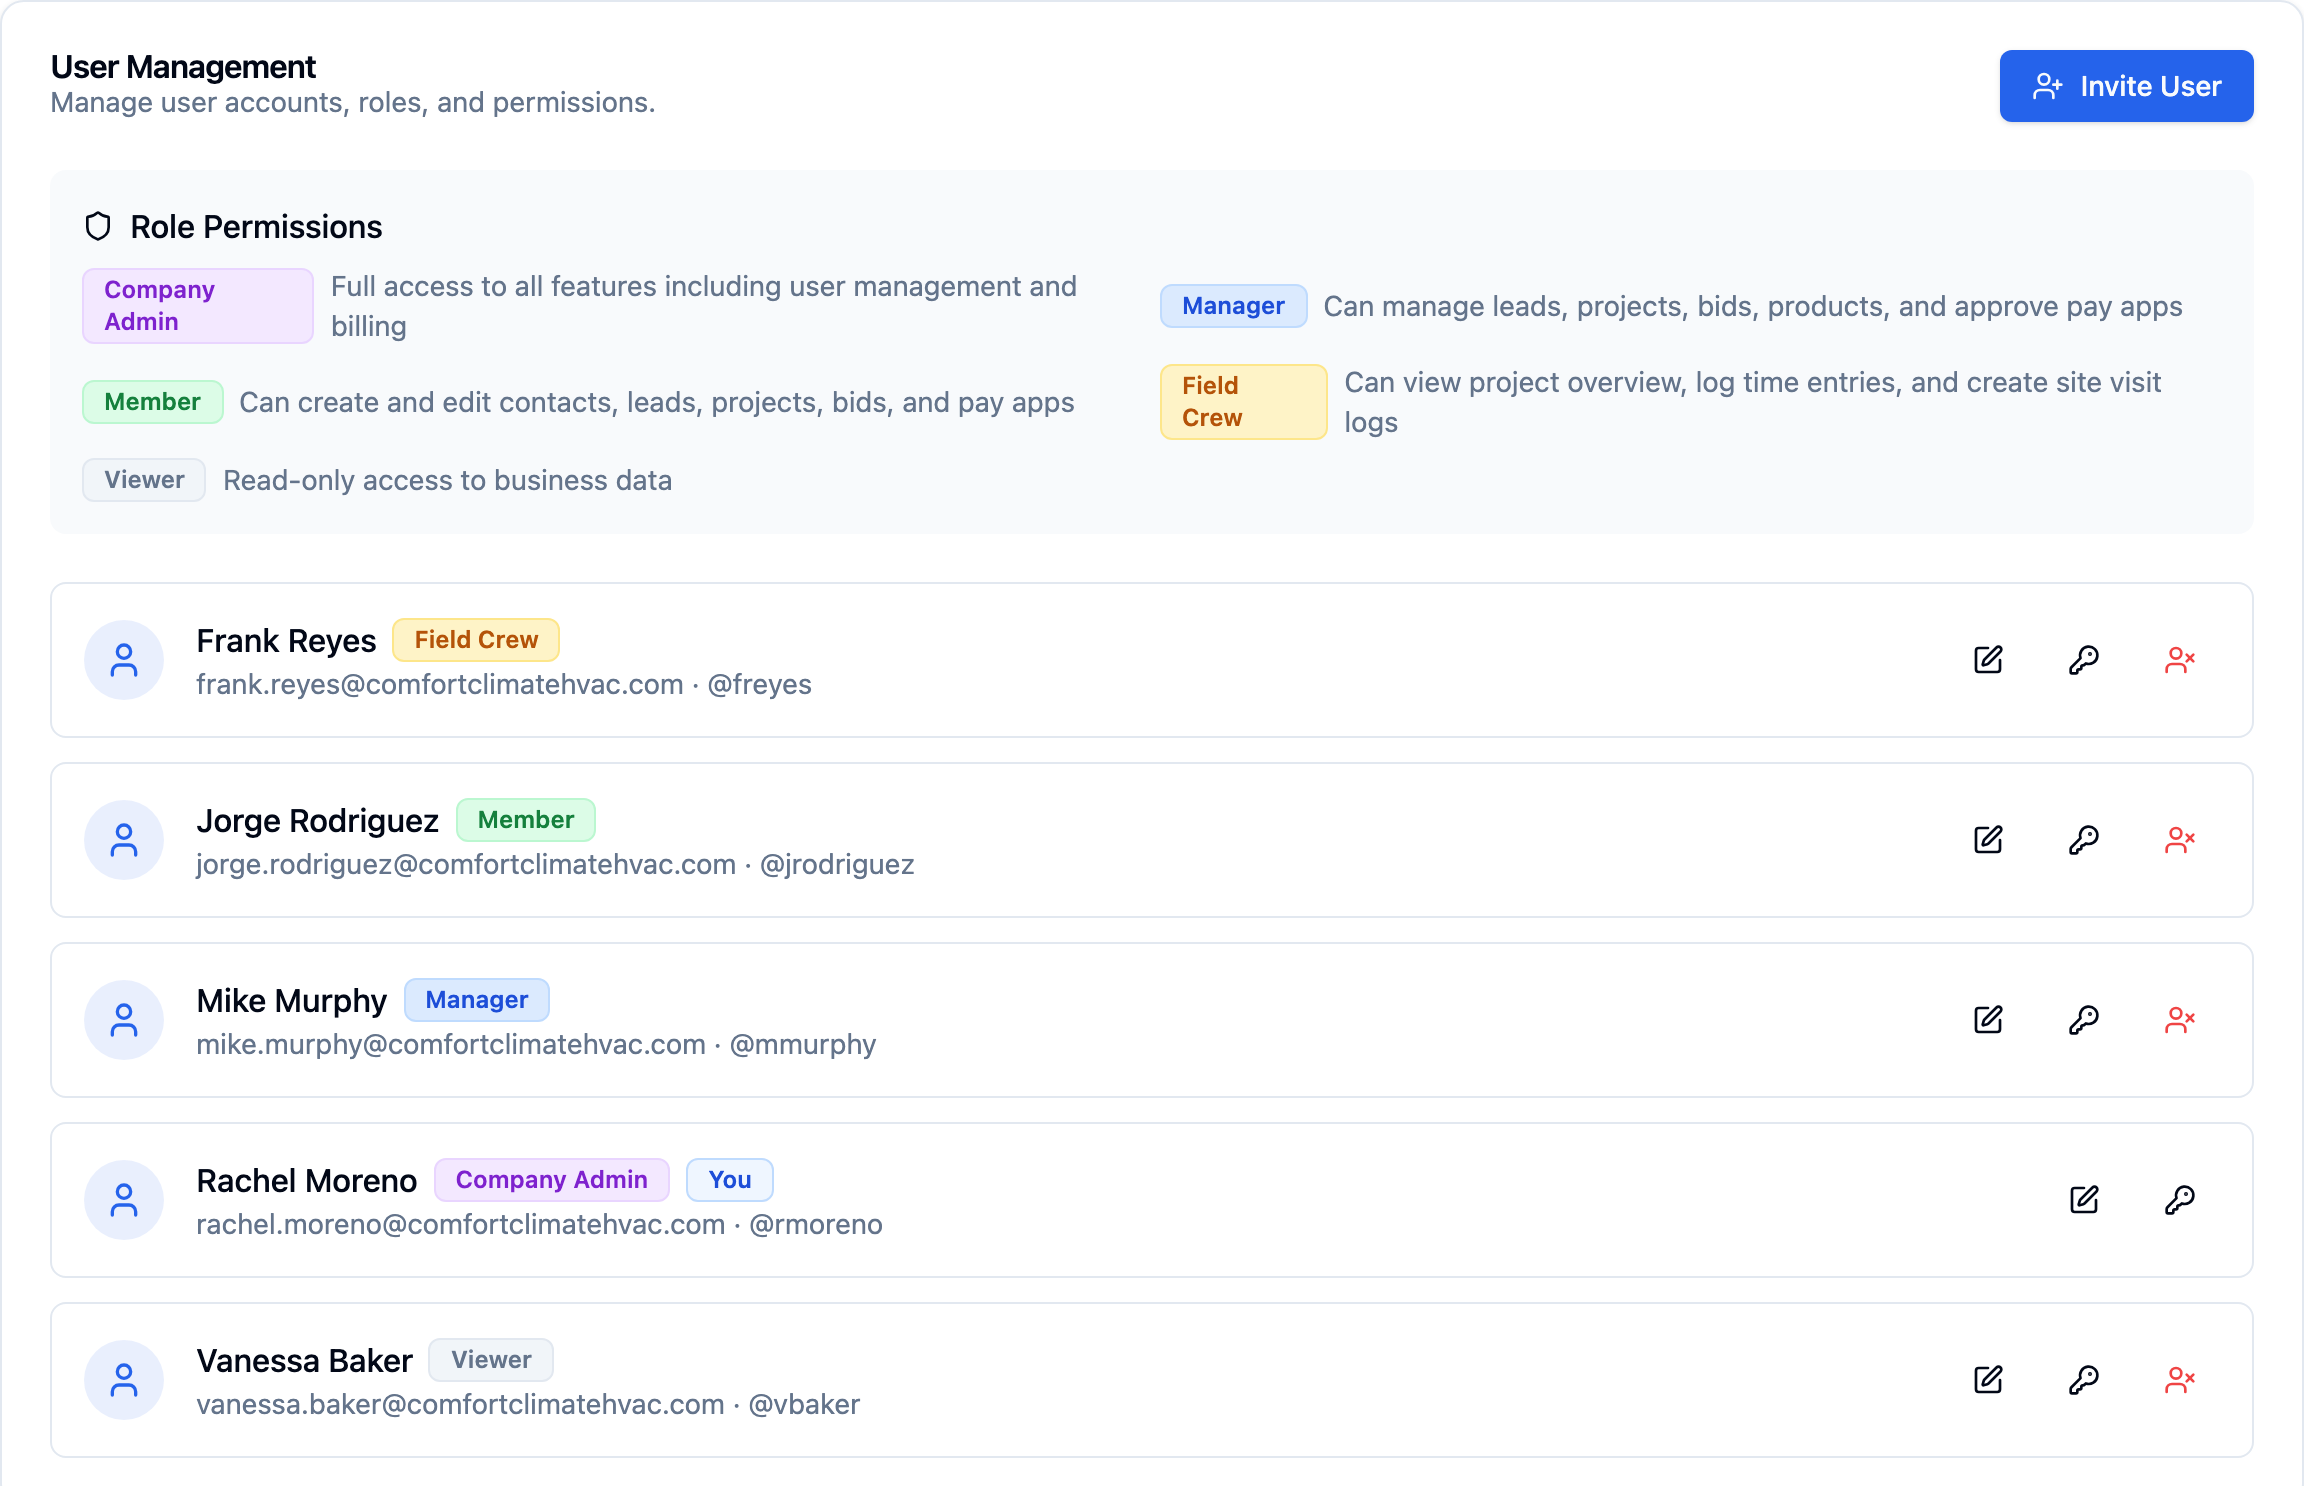
The five roles
Section titled “The five roles”- Company Admin – full access to everything, including team management, billing, and all settings. The only role that can hard-delete records, manage billing, and change organization settings.
- Manager – everything a Member can do, plus delete records, approve pay apps and change orders, manage the product catalog, send documents, and review site logs and time.
- Member – view all business data and the team roster; create and edit contacts, leads, bids, projects, pay apps, and change orders; export reports; upload documents. Cannot delete, approve, or manage products.
- Field Crew – for on-site workers. View projects and contacts; create and edit site logs and time entries; view documents. No access to bids, pay apps, change orders, leads, products, reports, billing, or settings.
- Viewer – read-only access to business data. Cannot create, edit, or delete anything, cannot see the team roster, and cannot export reports.
What each role can do
Section titled “What each role can do”The matrix below summarizes the capabilities that differ by role.
| Capability | Company Admin | Manager | Member | Field Crew | Viewer |
|---|---|---|---|---|---|
| View business data | ✓ | ✓ | ✓ | projects + field only | ✓ |
| Create / edit contacts, leads, bids, projects | ✓ | ✓ | ✓ | — | — |
| Delete records | ✓ | ✓ | — | — | — |
| Approve pay apps and change orders | ✓ | ✓ | — | — | — |
| Send bids, pay apps, change orders | ✓ | ✓ | — | — | — |
| Manage product catalog | ✓ | ✓ | — | — | — |
| Site logs and time tracking | ✓ | ✓ | ✓ | create + edit | view only |
| Export reports | ✓ | ✓ | ✓ | — | — |
| See the team roster | ✓ | ✓ | ✓ | — | — |
| Invite and manage users | ✓ | — | — | — | — |
| Manage billing | ✓ | — | — | — | — |
| Edit organization and workspace settings | ✓ | — | — | — | — |
| Restore deleted records | ✓ | — | — | — | — |
Manage your team
Section titled “Manage your team”Team management lives on the Organization settings tab.
-
Open team management. Go to Settings -> Organization. The User Management section lists every user with their role and status.
-
Edit a user. Click a user to change their name, email, role, or active status, then save.
Invite a user
Section titled “Invite a user”-
Start an invite. In User Management, click Invite User.
-
Enter details. Add the person’s Email and choose a Role.
-
Send. Click Send Invitation. The user receives an email link and sets their own password.
Pending invitations appear in their own section, where you can resend or revoke them.
What’s next
Section titled “What’s next”- Organization settings – your company profile.
- Profile and security – a user’s own account, password, and 2FA.