
Your First Project
Projects are the central hub for tracking work, billing, and field activity. This guide creates one and adds its first phases and tasks.
Create a project
Section titled “Create a project”-
Open the Projects list. Click Projects in the sidebar, then click New Project.
-
Start from a template (optional). If your organization has project templates, choose one under Start from template. Leave it on No template — start blank to build from scratch. Templates can pre-fill phases, tasks, and checklist items.
-
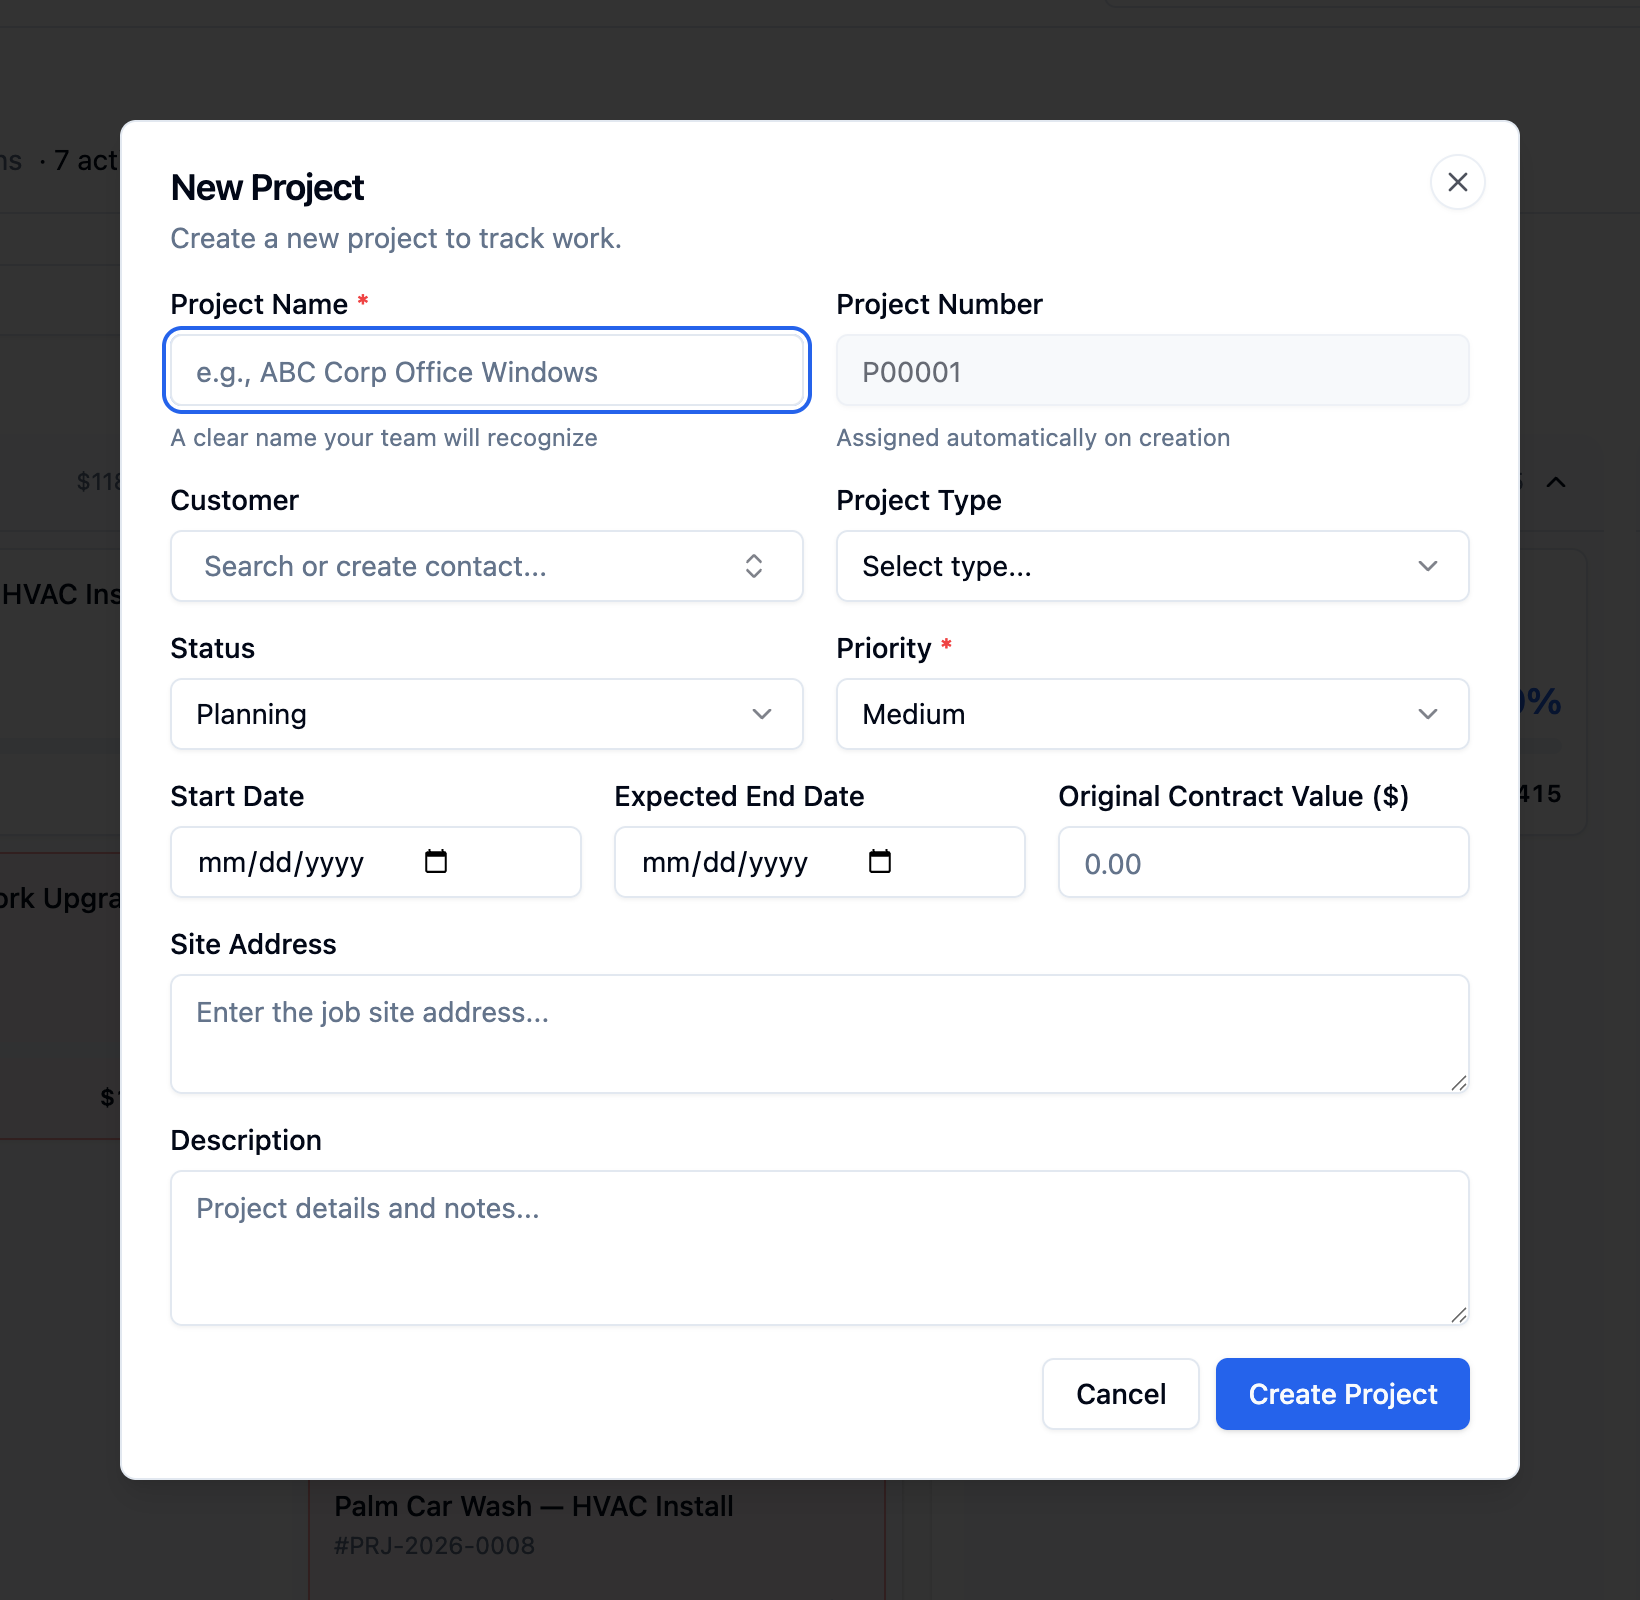
Fill in the details. The New Project dialog has these fields:
- Project Name (required) – a clear name your team will recognize, such as “Smith Residence - Electrical”.
- Project Number – assigned automatically on creation.
- Customer – select an existing contact or create a new one.
- Project Type – Residential, Commercial, or Industrial.
- Status – defaults to Planning. Other options are In Progress, On Hold, Closeout, Completed, and Cancelled.
- Priority (required) – Low, Medium, High, or Urgent.
- Start Date and Expected End Date – your planned schedule.
- Original Contract Value ($) – the total agreed amount.
- Site Address and Description – the job site location and any notes.
-
Create the project. Click Create Project.
Add phases
Section titled “Add phases”Phases break your project into major stages of work.
-
Open the Phases & Tasks tab. Open your project and go to the Phases & Tasks tab.
-
Add a phase. Click Add Phase and enter a name such as “Rough-In” or “Trim-Out”.
-
Set the schedule. Give each phase start and end dates.
-
Reorder if needed. Drag phases to change their order.
Add tasks
Section titled “Add tasks”Tasks sit inside phases and represent individual work items.
-
Add a task. Click into a phase and select Add Task.
-
Describe the work. Enter the task name, assign a team member, and set a due date.
-
Break it down. Add subtasks for granular tracking when a task needs it.
Track progress
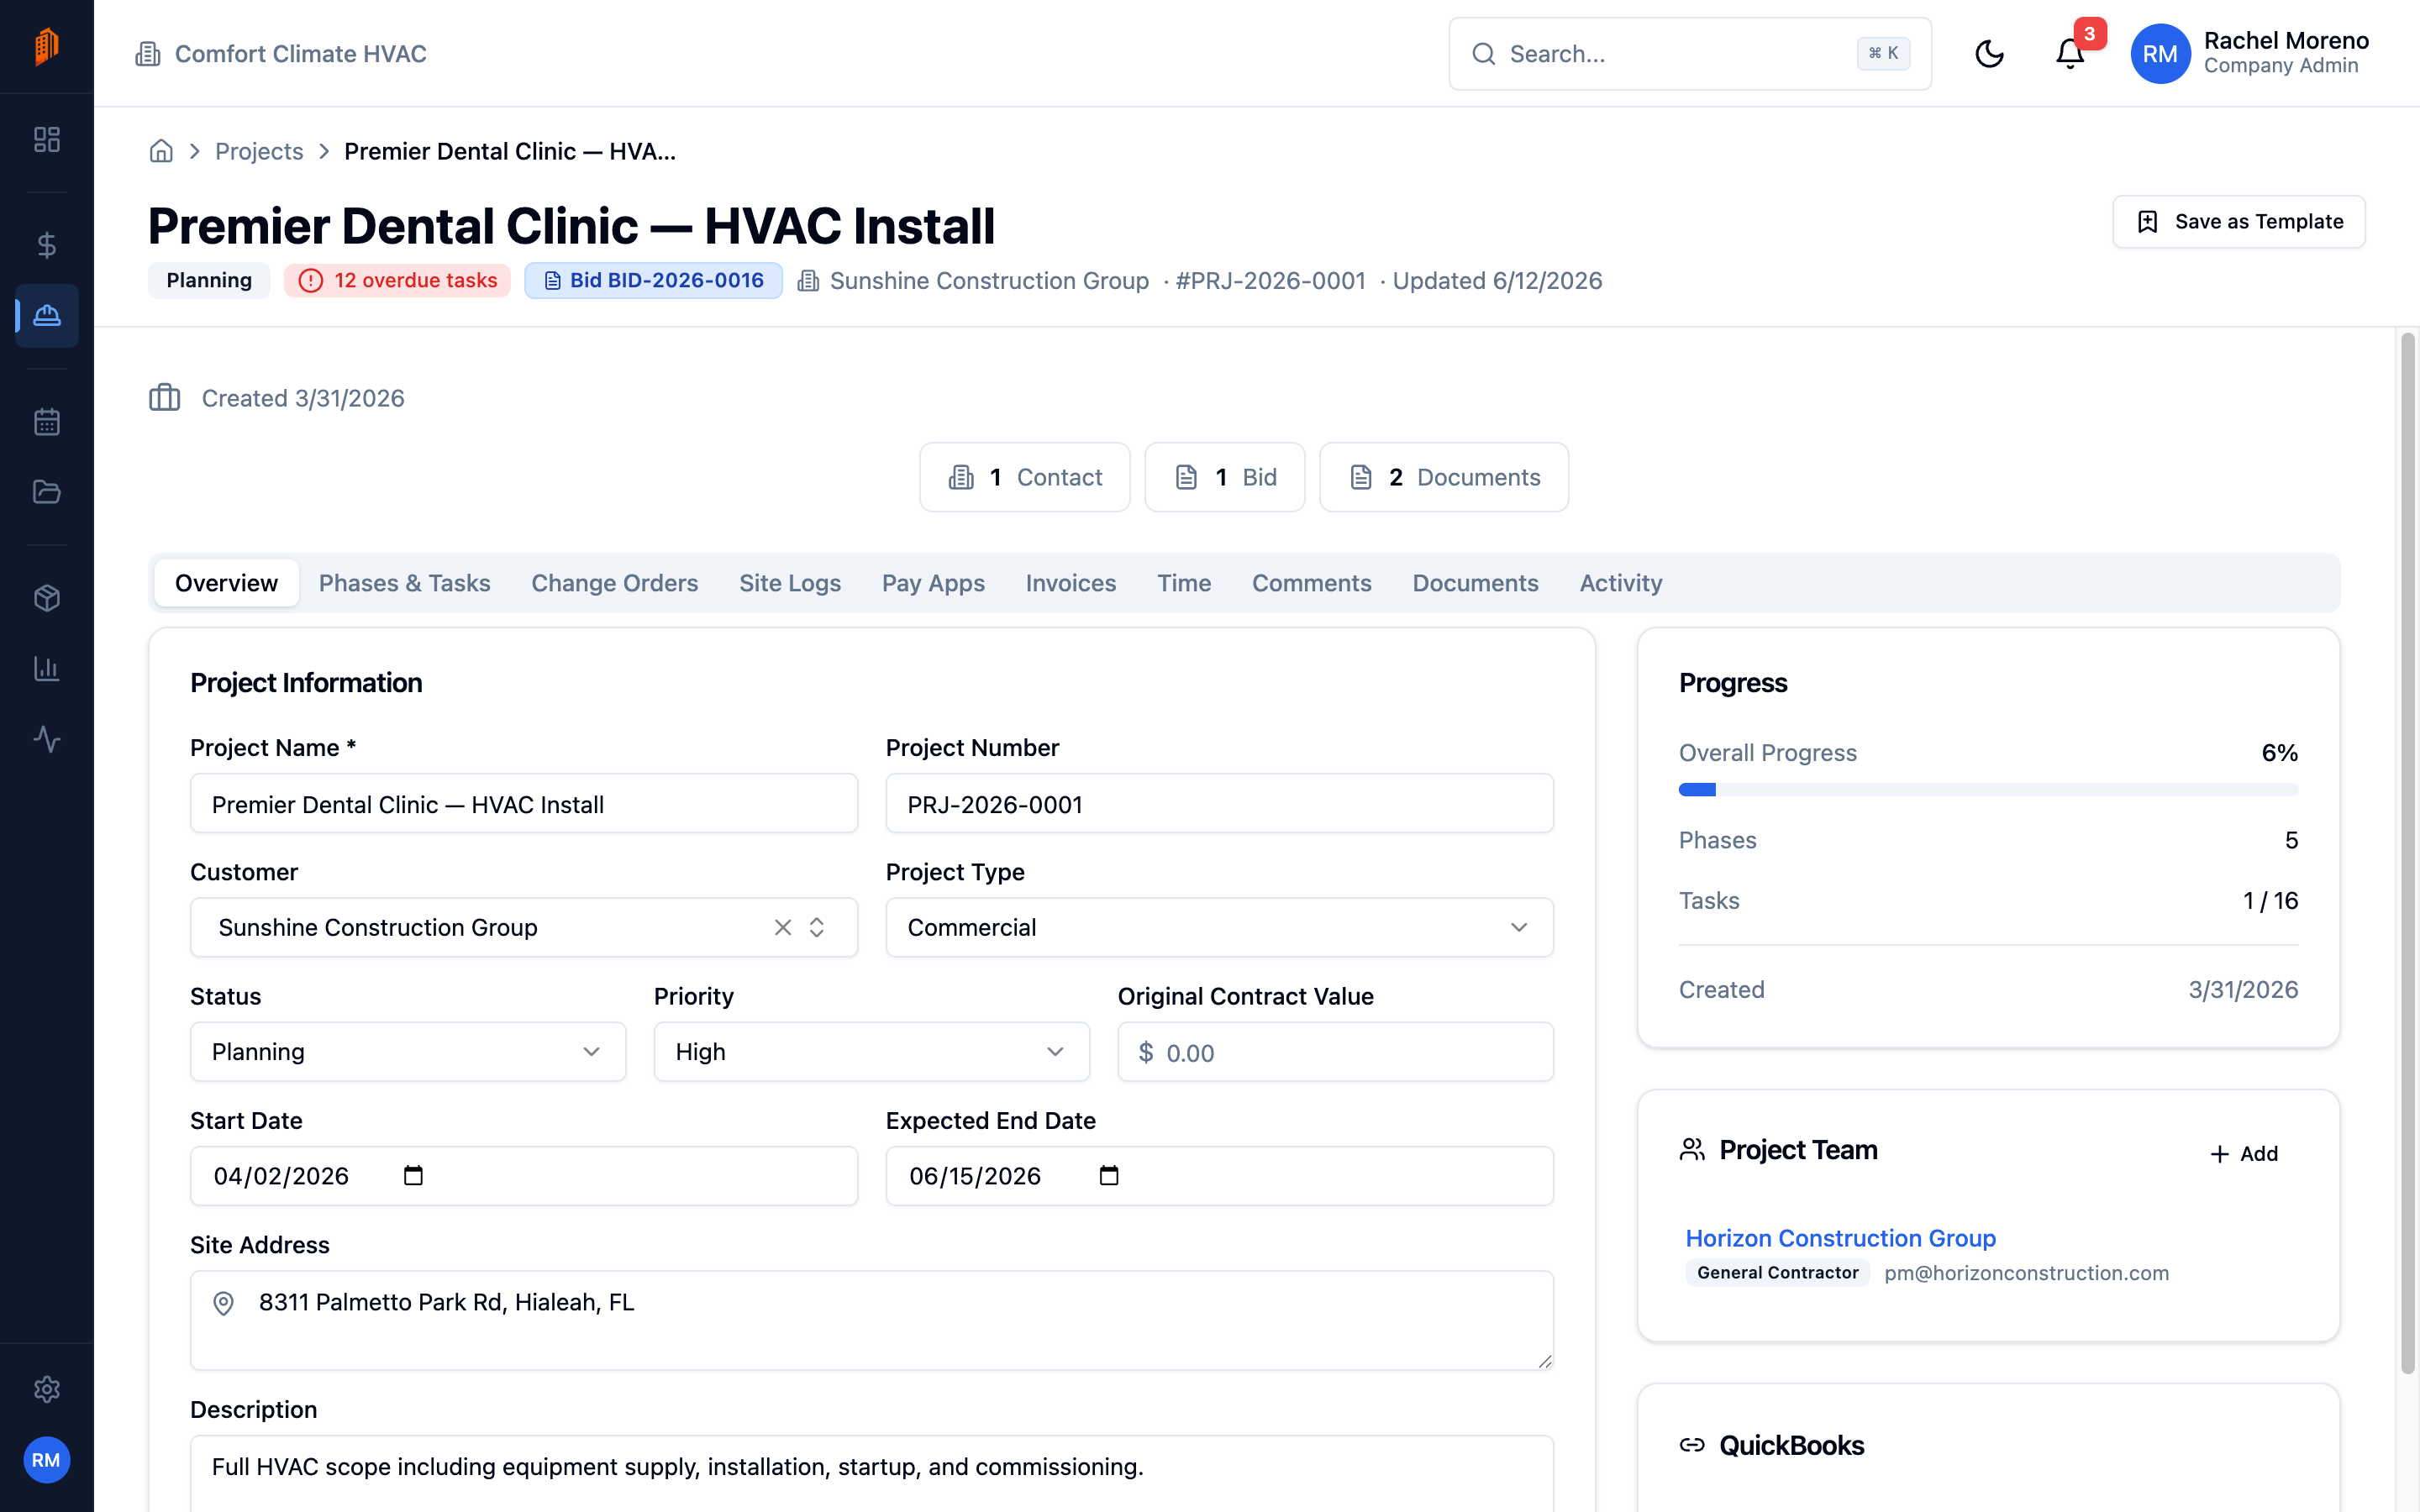
Section titled “Track progress”As work gets done, update task statuses. The project shows overall completion, upcoming deadlines, and overdue items. Switch to the Gantt view for a visual timeline.